Updated on 2025-03-03
33 views
5min read
Netflix is now an essential streaming service worldwide, offering diverse films, series, and exclusive content. However, numerous users rely on VPN services like NordVPN to access content that could be restricted in their regions.
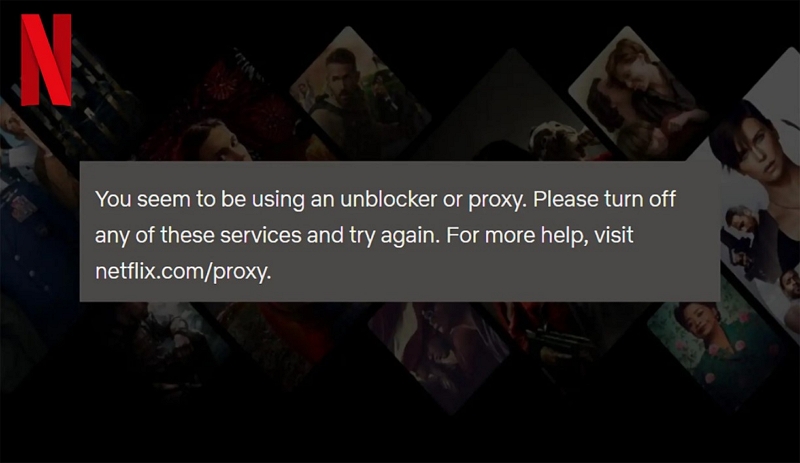
While NordVPN is generally compatible with Netflix, users may sometimes encounter the frustrating notification stating: “You seem to be using an unblocker or proxy. Please turn off any of these services and try again.” This issue might arise due to Netflix's stringent geo-blocking measures, VPN server issues, or outdated configurations. This guide will show you how to resolve the problem of “Netflix not working with Nord VPN”.
- Method 1: Upgrade the NordVPN application
- Method 2. Switch to another server connection
- Method 3. Resetting DNS Configuration
- Method 4. Delete the stored data in your web browser
- Method 5: Ensure the stability of your internet connection
- Method 6: Use an alternative device or browser
- Method 7: Try a different VPN service for accessing Netflix
Part 1: Why Netflix Not Working with Nord VPN?
Netflix frequently restricts VPNs such as NordVPN, and there are various reasons why they might not function as intended –
- Netflix frequently revises its databases of VPN IP addresses that are known. If a NordVPN server IP is identified, it may no longer be effective for streaming.
- If the DNS servers of the VPN do not hide your IP address completely, Netflix might identify your real location and prevent you from streaming.
- Some NordVPN servers may not be regularly updated or optimized for streaming, leading to connectivity problems when using Netflix.
- Region-specific content on Netflix is restricted based on users’ geolocation. This allows access only to content approved for their region according to licensing agreements.
Recommended NordVPN Servers for Netflix Watching
These servers from NordVPN are frequently suggested for connecting to Netflix in different countries.
| Nation | Server ID |
|---|---|
| United States | #10132, #9592, #6613, #8363, #5510 |
| India | #145 |
| Canada | #1625, #1627, #1685, #1221, #1557, #1191 |
| Spain | #207 |
| Japan | #543, #647, #610, #562, #658, #566 |
| United Kingdom | #2097, #2320, #2472, #2271, #2333, #1810 |
| Australia | #601 |
| Germany | #825 |
| Argentina | #55 |
| Brazil | #76 |
| South Korea | #72 |
| Mexico | #89 |
| Switzerland | #406 |
| Italy | #219 |
Netflix restricts access based on users' location through their IP addresses, which indicate their geographical position. VPNs such as NordVPN hide your IP address, letting users connect to servers in various countries and view content specific to those regions. Netflix blocks IP addresses linked to VPNs to adhere to regional licensing agreements. Utilizing the NordVPN servers suggested can assist in circumventing these limitations, as they are regularly updated to outsmart Netflix’s detection methods.
Part 2: Best Fixes for Netflix Does Not Work with Nord VPN
When using NordVPN with Netflix, problems may arise from things like server connections, app configurations, or DNS settings. Below are solutions that can assist in resolving these problems –
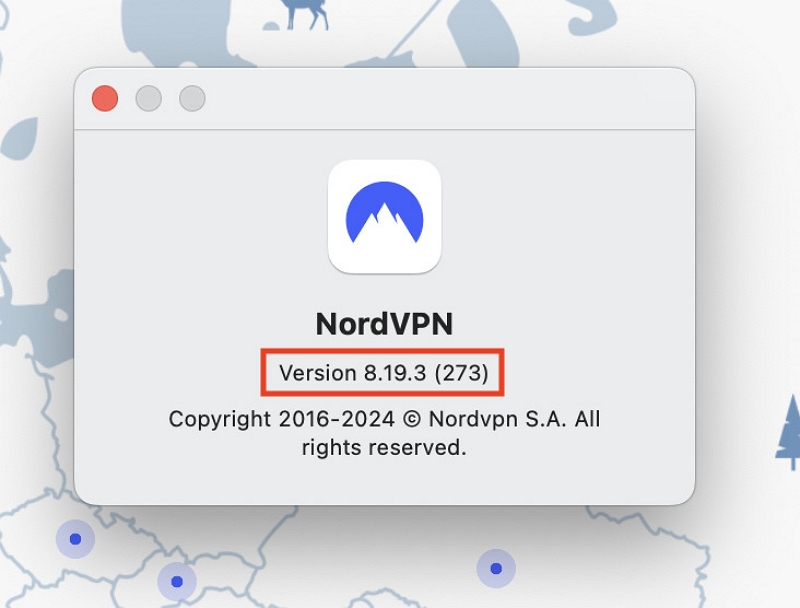
Method 1: Upgrade the NordVPN application
Outdated apps might not have the most up-to-date Netflix bypass capabilities. Be sure to keep NordVPN up-to-date with the latest version, as updates typically come with enhancements in performance and fixes for bugs. Just visit the app store on your device or NordVPN’s official website to see if there are any updates available.
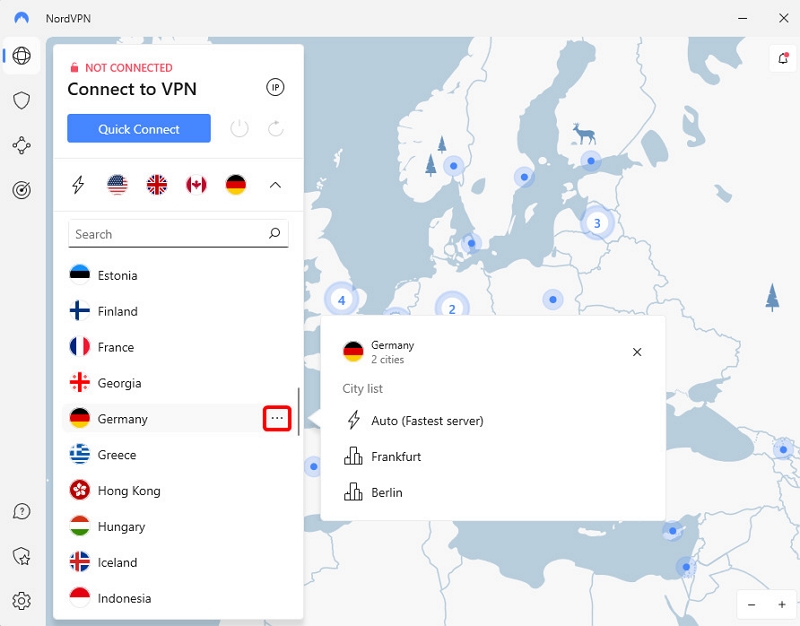
Method 2. Switch to another server connection
At times, Netflix restricts access to specific VPN servers. Attempt connecting to an alternate server on NordVPN, specifically ones marked as “Recommended” for streaming, or try accessing various regions for a wider selection of Netflix content.
Method 3. Resetting DNS Configuration
If NordVPN doesn’t work with Netflix, try resetting your DNS configurations to see if that solves the issue.
On Windows 10
Step 1: Click the right button on the network or Wi-Fi icon located in the taskbar and select Network and Internet Settings.
Step 2: Proceed to Change Adapter Settings. Click with the right mouse button on your current network (either Ethernet or Wi-Fi) and then choose Properties.

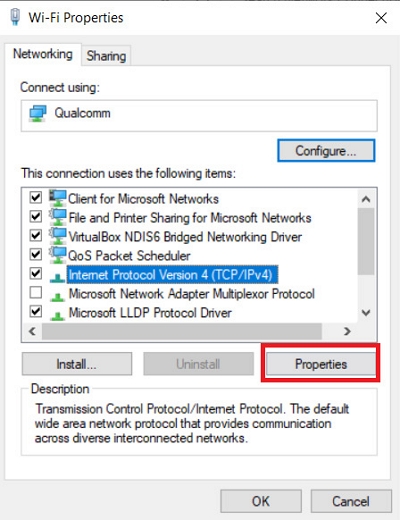
Step 3: Select Internet Protocol Version 4 (TCP/IPv4) and then click Properties.
Step 4: Select Utilize the provided DNS server addresses and input your preferred primary and secondary DNS addresses.
Step 5: Press OK to apply the modifications.
On Windows 11
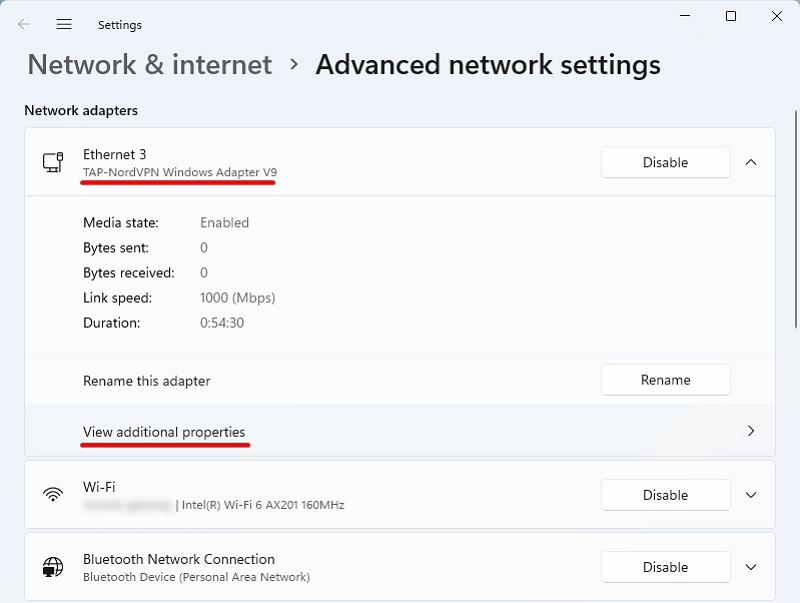
Step 1: Press the magnifying glass icon on the taskbar and look for Manage Network Adapter Settings.

Step 2: Choose your active connection (either Ethernet or Wi-Fi) and then select View Additional Properties.
Step 3: Click on Edit in the DNS Server Assignment section.
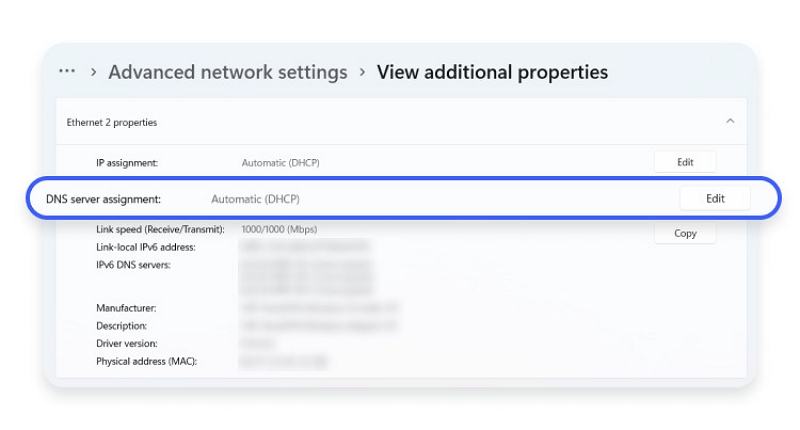
Step 4: Change it to Manual mode, enable IPv4, and input the desired DNS addresses.
Step 5: Disable IPv6 if it is not necessary, and then save the changes.
On Mac –
Step 1: Launch System Preferences and navigate to the Network section.
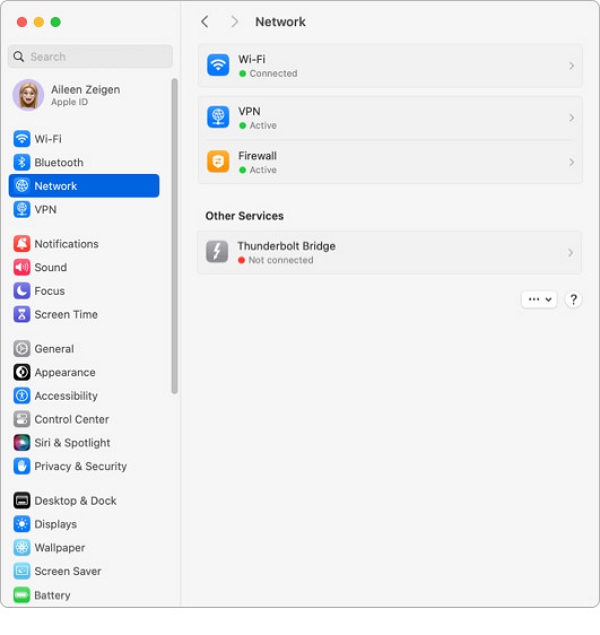
Step 2: Select your current network interface (such as Wi-Fi) and then proceed to click on Details.
Step 3: Navigate to the DNS section, and press the + button to input your desired DNS addresses.
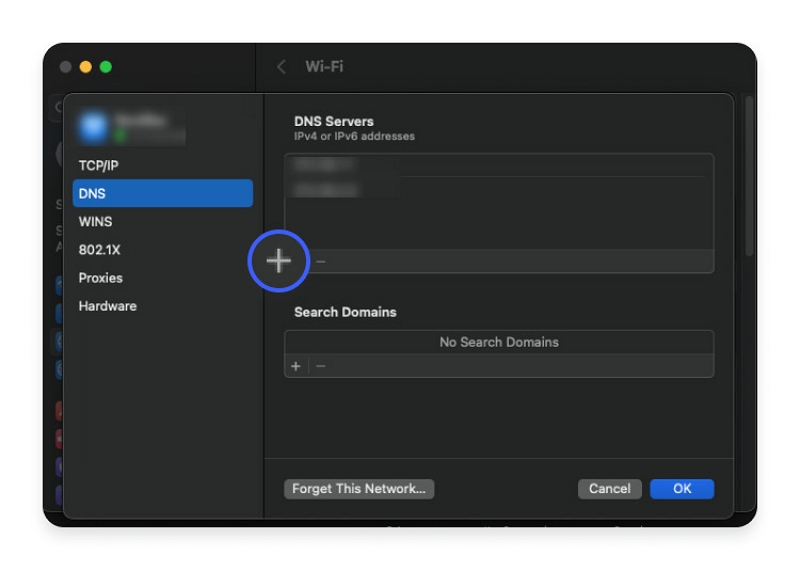
Step 4: Press OK and then select Apply to validate the modifications.
Method 4. Delete the stored data in your web browser
Outdated data stored in your browser’s cache may disrupt the VPN’s efficiency. Delete your cache and cookies to eliminate any stored Netflix information that might be causing issues with NordVPN’s connectivity.
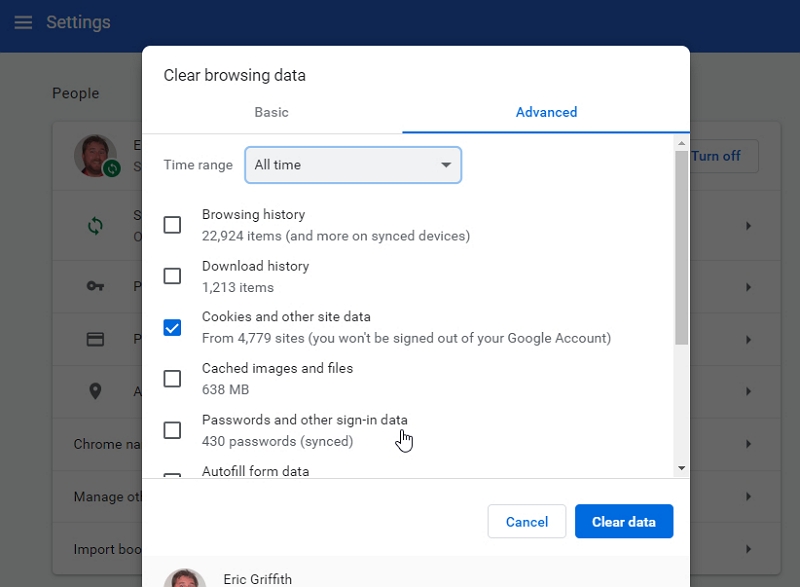
Step 1: Launch Google Chrome on your personal computer.
Step 2: Click on the three-dot menu icon in the top-right corner for additional options. Then, choose the option for “Clear browsing data”.
Step 3: Select a specific time frame, like “Past hour” or “Entire history”, based on the amount of data you wish to delete.
Step 4: Indicate the categories of data you want to delete, such as internet history or cookies. Press the “Clear data” button to verify.
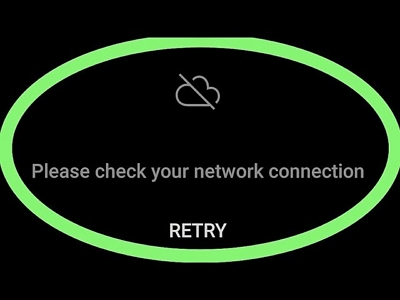
Method 5: Ensure the stability of your internet connection
Poor internet connections may hinder Netflix from loading correctly. Check your internet connection speed, and if it’s slower than normal, attempt to restart your router or reach out to your internet service provider for help.
Method 6: Use an alternative device or browser
If Netflix is having problems on just one device or browser, trying a different one may resolve the issue. Attempt to log in to Netflix using a different browser or device to determine if the issue is specific to one setup.

Method 7: Try a different VPN service for accessing Netflix
If you’re experiencing ongoing problems with NordVPN and Netflix, changing to a VPN that is highly compatible with Netflix may help. Certain VPNs focus on streaming services and might offer a steadier connection for accessing Netflix.
Must Read: Best Alternative to Nord VPN Not Working with Netflix
If you’re having issues with Nord VPN not functioning on Netflix, StreamFox for Video Downloader could be the ideal fix. StreamFox was created to simplify the process of downloading Netflix content, easily converting it into formats such as MP4, MKV, and MOV. One of its standout features is its ability to handle large files at impressive speeds without compromising video quality up to 1080P. StreamFox provides the option to customize features such as choosing subtitle and audio languages. This enables users to personalize their viewing experience for optimal enjoyment.
Key Features:
- Download Netflix videos without Nord VPN and watch HD videos offline.
- Puts your computer into sleep mode automatically.
- Select from 3 different subtitle options—Internal, External, and Hardcoded.
- The integrated Netflix browser makes it easier to search for and add videos to your download queue.
Here are the steps to download Netflix videos using StreamFox for Video Downloader –
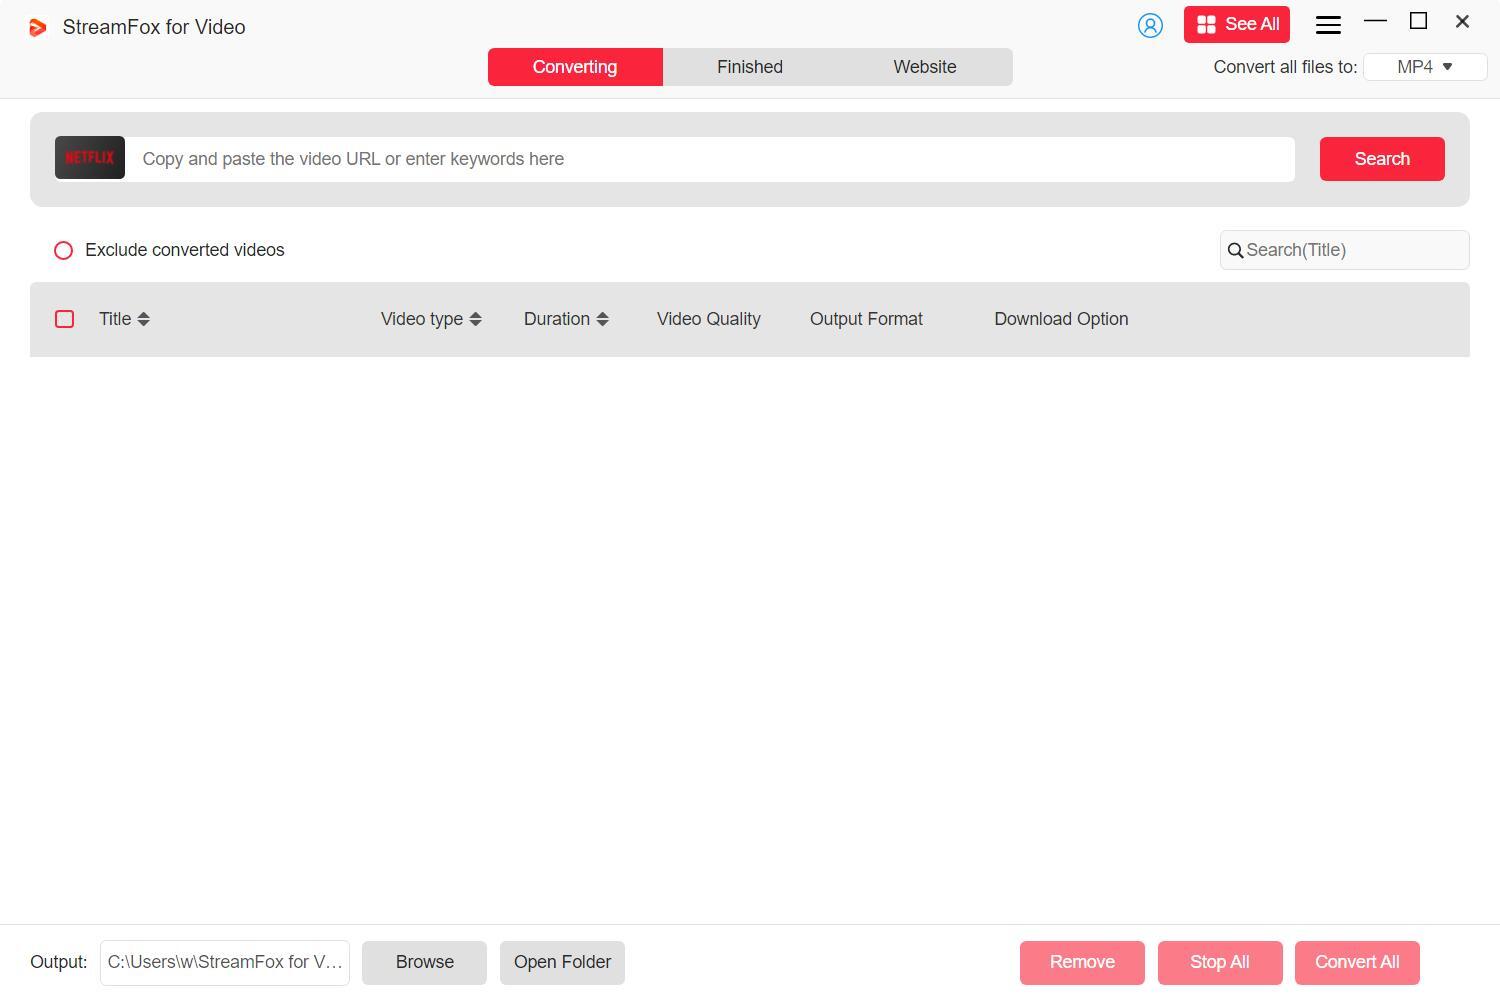
Step 1: Launch the StreamFox for Video Downloader software on your computer and sign in using your Netflix account details.
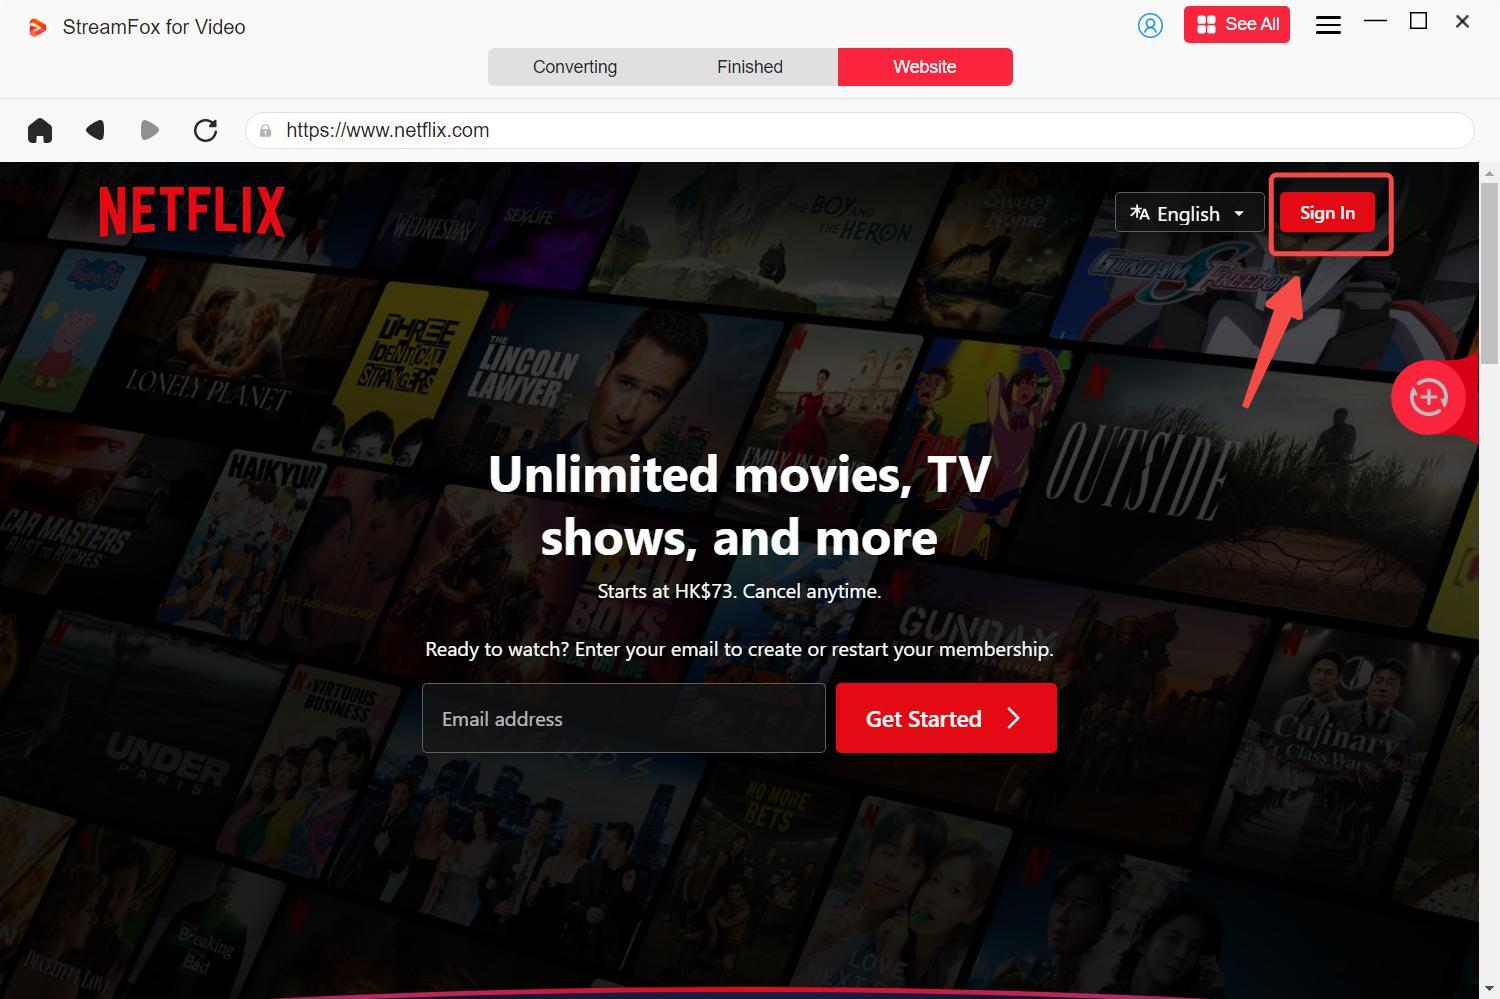
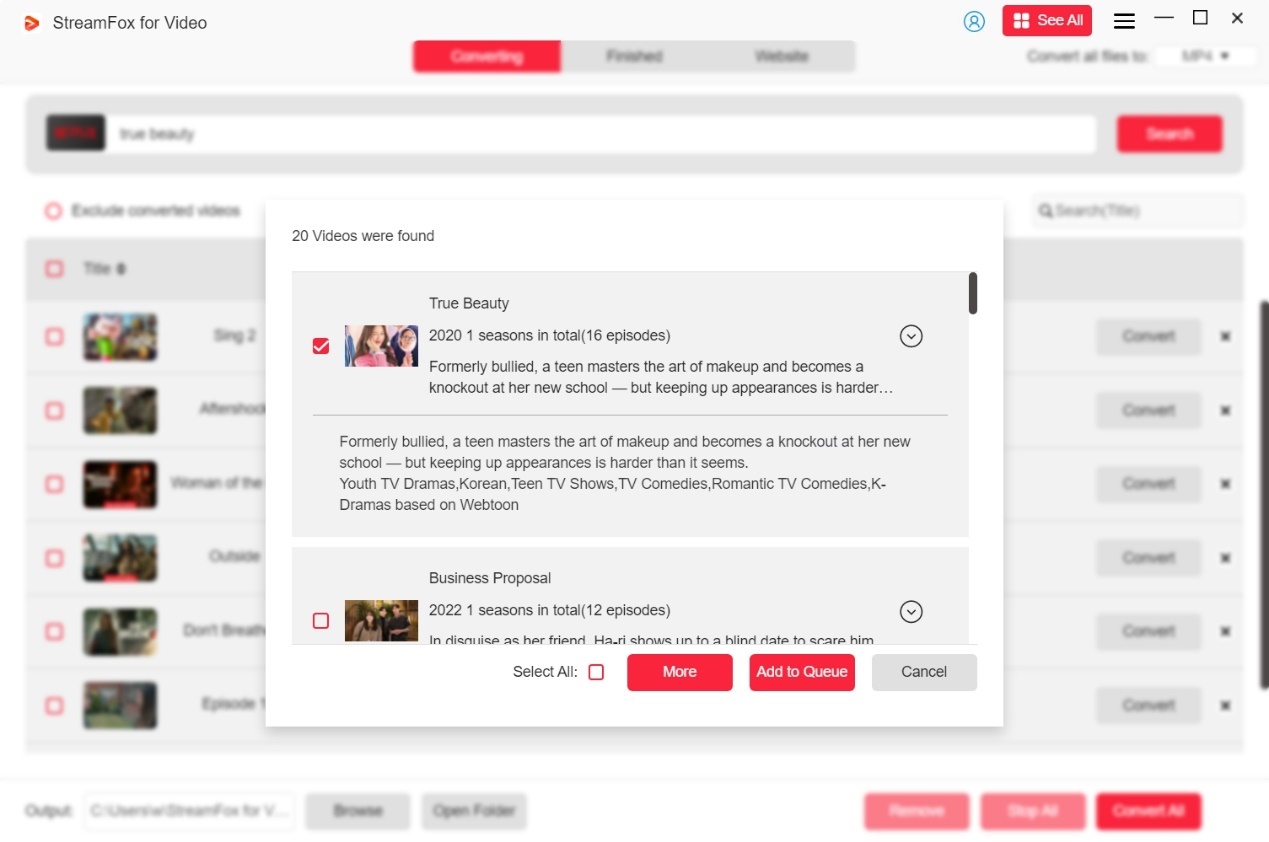
Step 2: Utilize the search tool in StreamFox to locate the specific Netflix show or movie for downloading. Searching can be done using either a particular URL or appropriate keywords.
Choose the preferred title from the search results and then select “Add to Queue”.
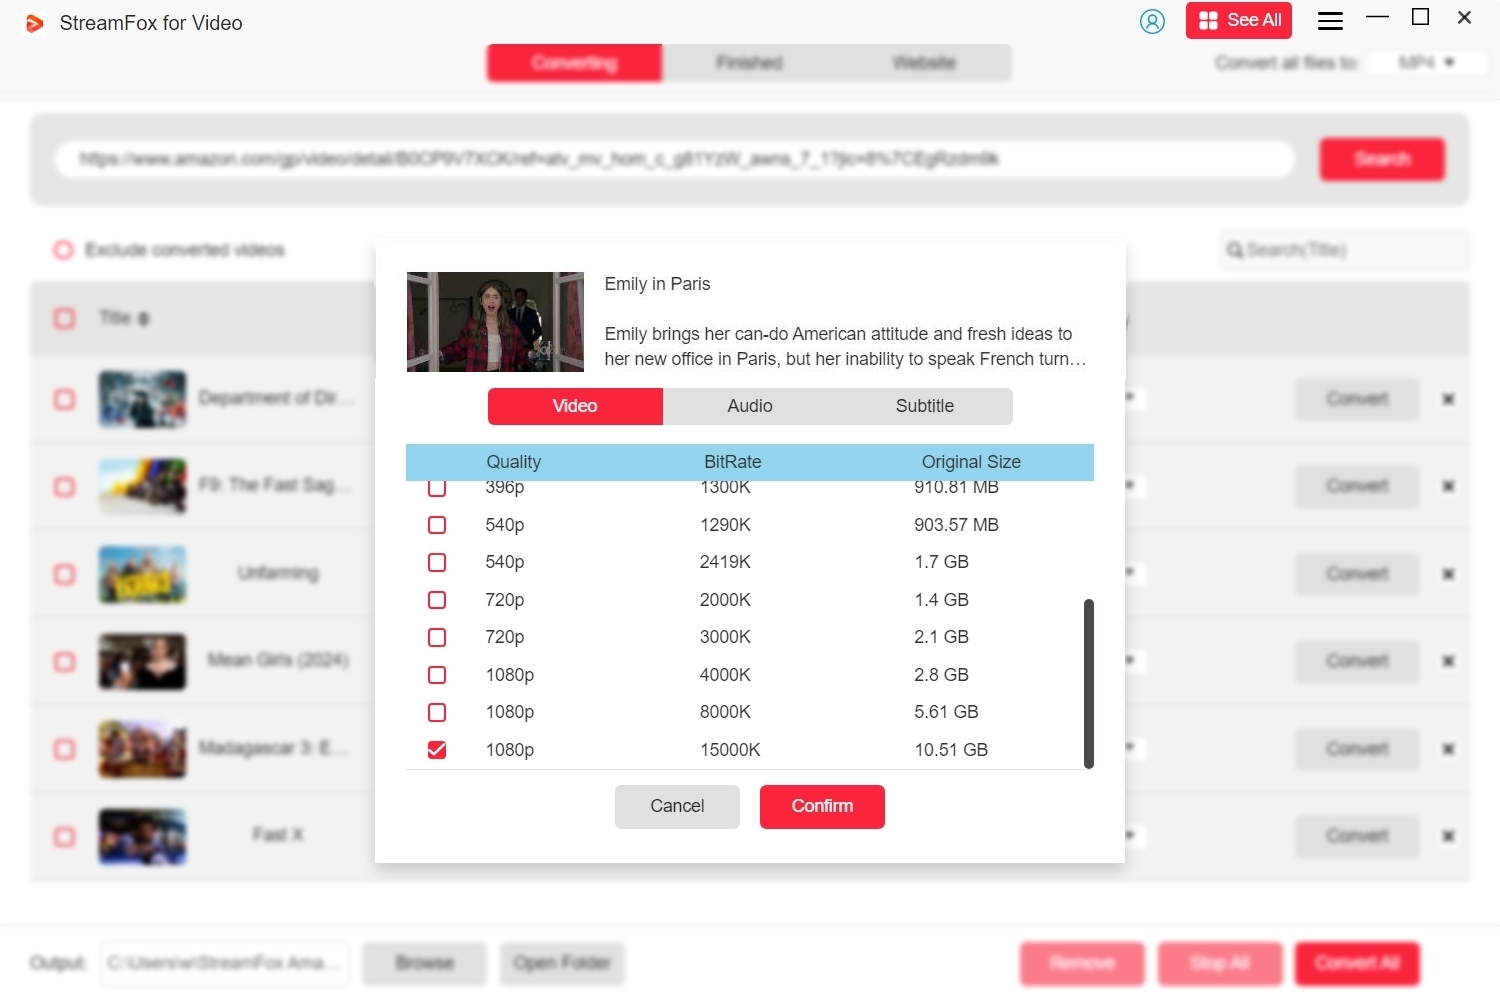
Step 3: Select the video quality, audio settings, and type of subtitles that best suit your preferences to personalize the download according to your requirements.
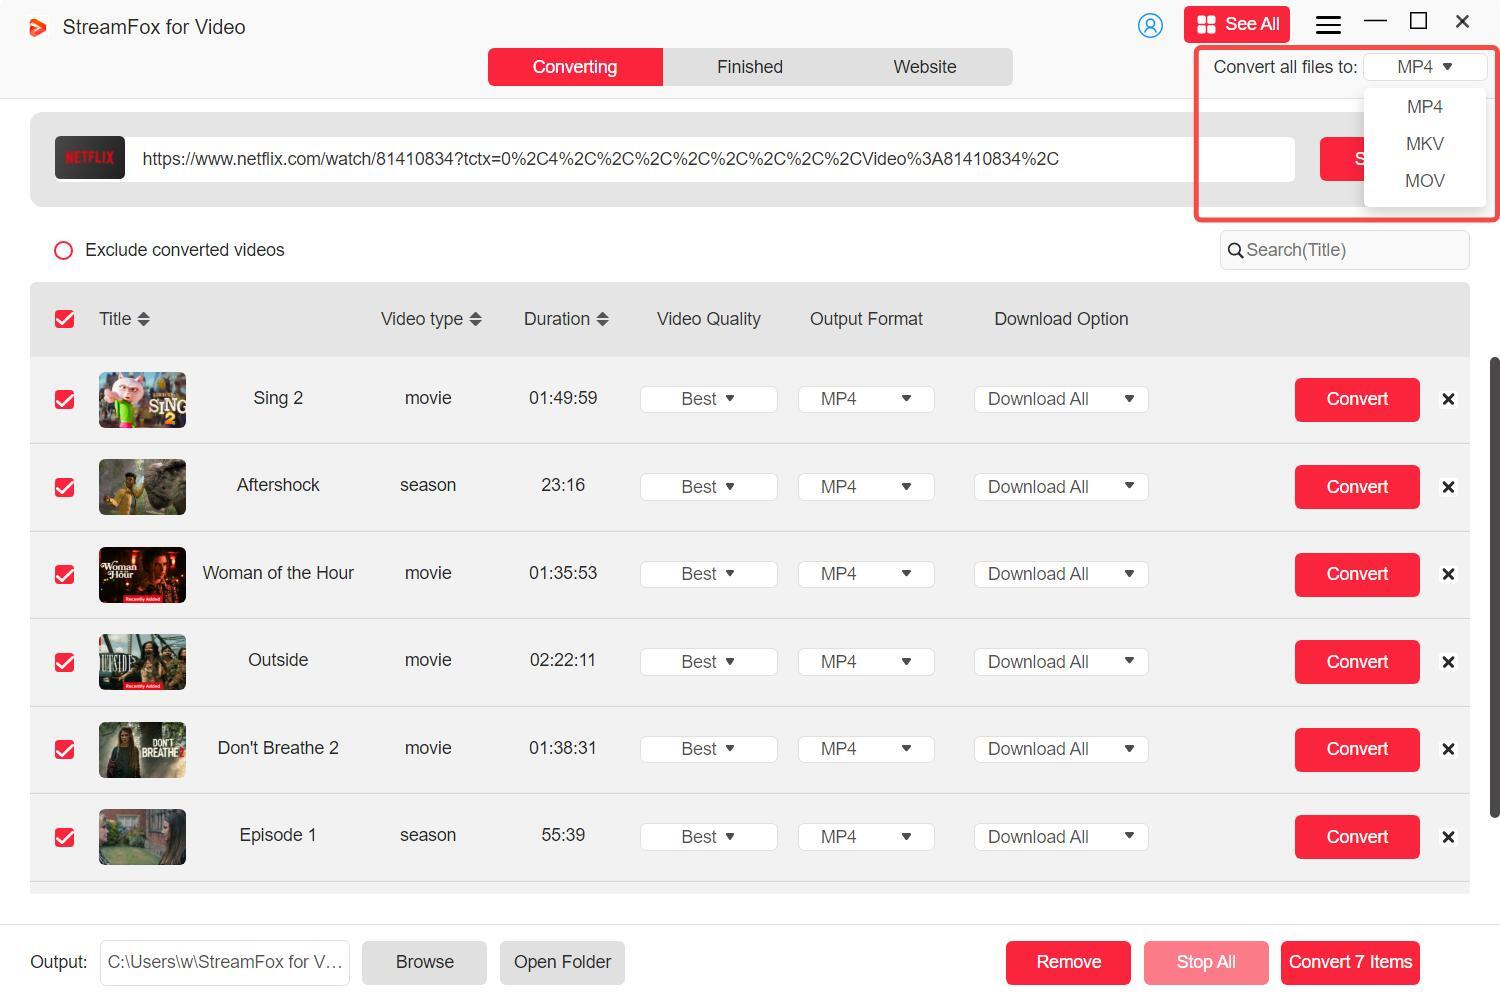
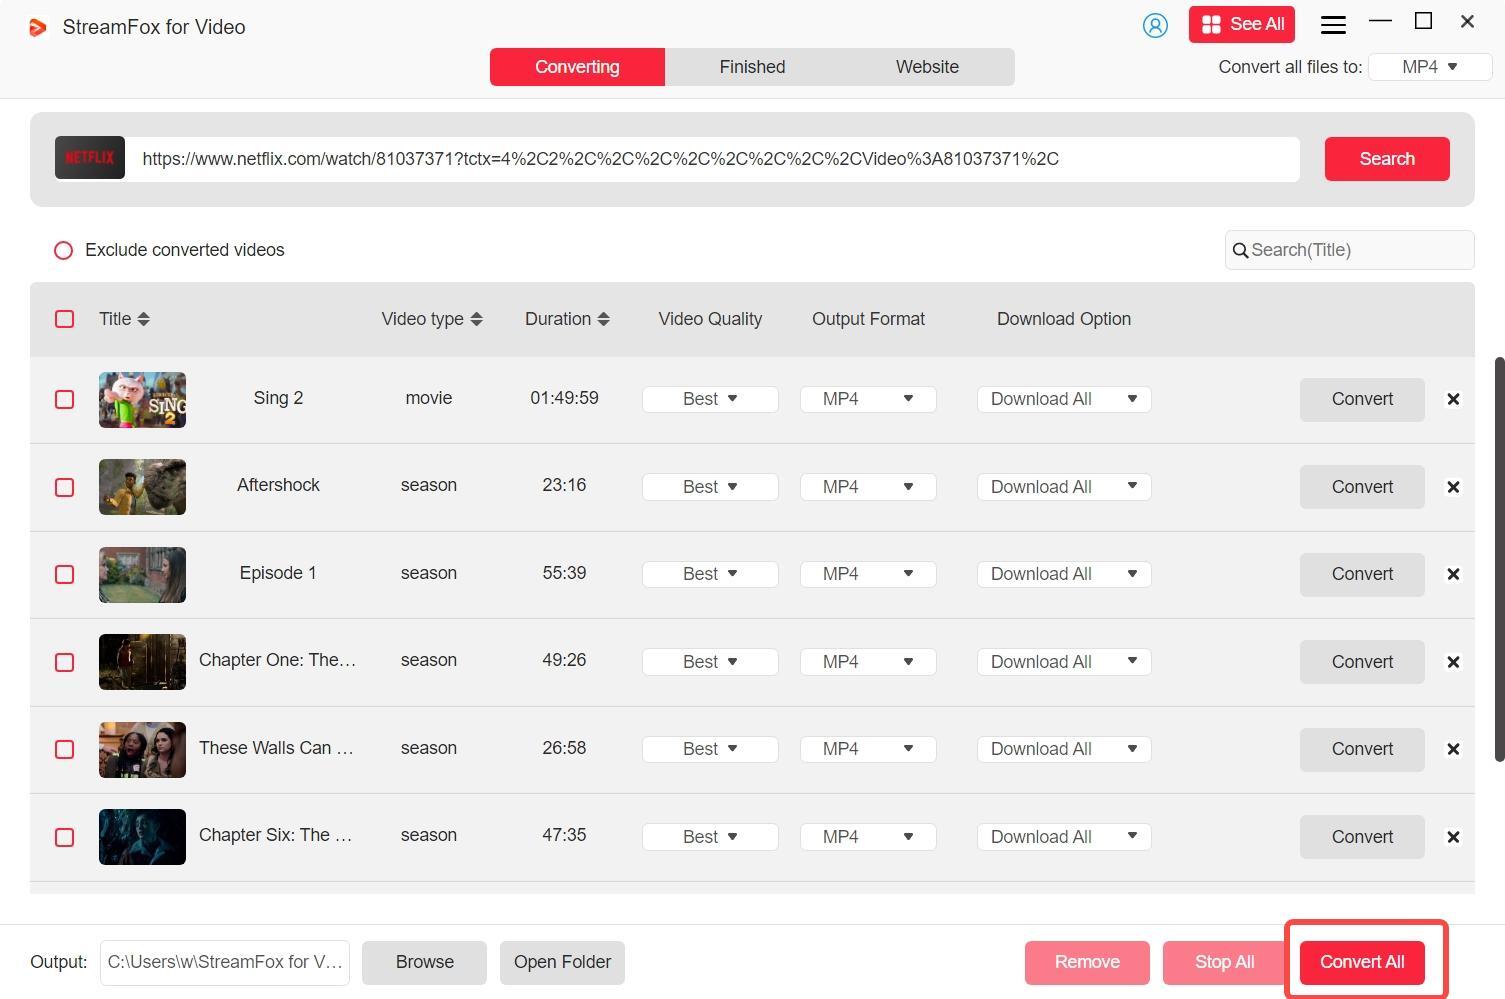
Step 4: To complete the process, navigate to the “Convert all files to” section. Choose the video format you want to convert to, then press “Convert All” to initiate the download procedure.
Step 5: Once the download is finished, you will be able to locate your file in the “Finished” tab. To access your downloaded movie on your computer, just click on “View Output File”.
Conclusion:
Although NordVPN is usually dependable for getting around Netflix restrictions, problems can still occur because of Netflix’s sophisticated geographical blocking techniques. By adhering to the troubleshooting steps provided, you will be able to experience uninterrupted streaming. If issues continue, you may want to try using StreamFox for Video Downloader. This is a robust option that enables you to save Netflix shows in high definition with customizable audio and subtitle choices for a more adaptable viewing practice.