Updated on 2025-03-03
17 views
5min read
Subtitles enhance clarity, guaranteeing that you won’t overlook essential dialogue, even in loud surroundings. For individuals acquiring a new language, subtitles act as an excellent resource to strengthen vocabulary and grammar by linking spoken language to its written form. Additionally, subtitles serve as an essential accessibility tool for those with hearing disabilities, providing an inclusive experience for everyone.
If you aim to enhance your comprehension, pick up a new language, or guarantee clarity, downloading and adjusting subtitles is a fantastic option. This guide will introduce the best Netflix subtitles downloader to download, customize, and use subtitles.
Part 1: Understanding Types of Subtitles on Netflix
Netflix provides a variety of subtitle options, each designed to accommodate different viewing preferences and devices. Here's an overview of the various kinds of subtitles you might come across –

1. Internal Subtitles
These subtitles are incorporated directly into the video, allowing viewers to turn them on or off during playback. Most video players support them, offering flexibility for viewers to tailor their experience. You can turn these subtitles on or off via Netflix’s settings.
2. External Subtitles
These are individual subtitle files, usually in formats such as SRT or SUP that can be downloaded and utilized with compatible video players. You can bring these external files to third-party media players and align them with your video. This enables greater personalization, such as selecting various languages or subtitle formats.
3. Hardcoded Subtitles
In contrast to internal or external subtitles, hardcoded subtitles are fixed within the video and cannot be edited or removed. These subtitles are perfect for scenarios where devices or video players lack subtitle customization features, guaranteeing accessibility on all platforms.
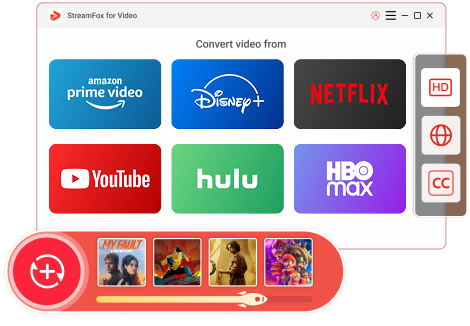
Tool Recommendation: StreamFox for Video Downloader
StreamFox for Video Downloader can effortlessly download videos from well-known streaming services such as Netflix, Amazon Prime, and YouTube. It enables HD video downloads, offering quality choices up to 4K, and various formats including MP4, MKV, and MOV. What differentiates it is its customizable subtitle option, providing 3 modes: internal, hardcoded, and external subtitles in formats such as SRT and VTT. This adaptability allows you to customize your download experience according to your preferences.
Part 2: How to Watch Netflix Movies with Customized Subtitles
Streaming Netflix films with personalized subtitles can significantly improve your watching experience, particularly if you require subtitles for better understanding. Whether you’re acquiring a new language, or simply wish to customize the subtitles to your liking, having control over the subtitle settings enhances the viewing experience.
Fortunately, applications such as One-stop Streaming Video Downloader—StreamFox for Video can offer exactly that and additional features. This application provides a smooth method to save Netflix material and stream it offline with personalized subtitles. It is a flexible option for those wanting to watch Netflix content offline while having more control over language and subtitle choices.
Why Choose StreamFox for Video:
- Download Netflix films and series in Full HD (1080P) or elevated quality.
- Choose your desired audio languages to meet your preferences, featuring surround sound choices.
- Download and view your content freely, whether you’re using a laptop, smartphone, or even offline without an internet connection.
- Transform downloaded videos into MP4, MOV or MKV formats for seamless playback.
Watch Netflix movies with customized subtitles using Netflix subtitle downloader –
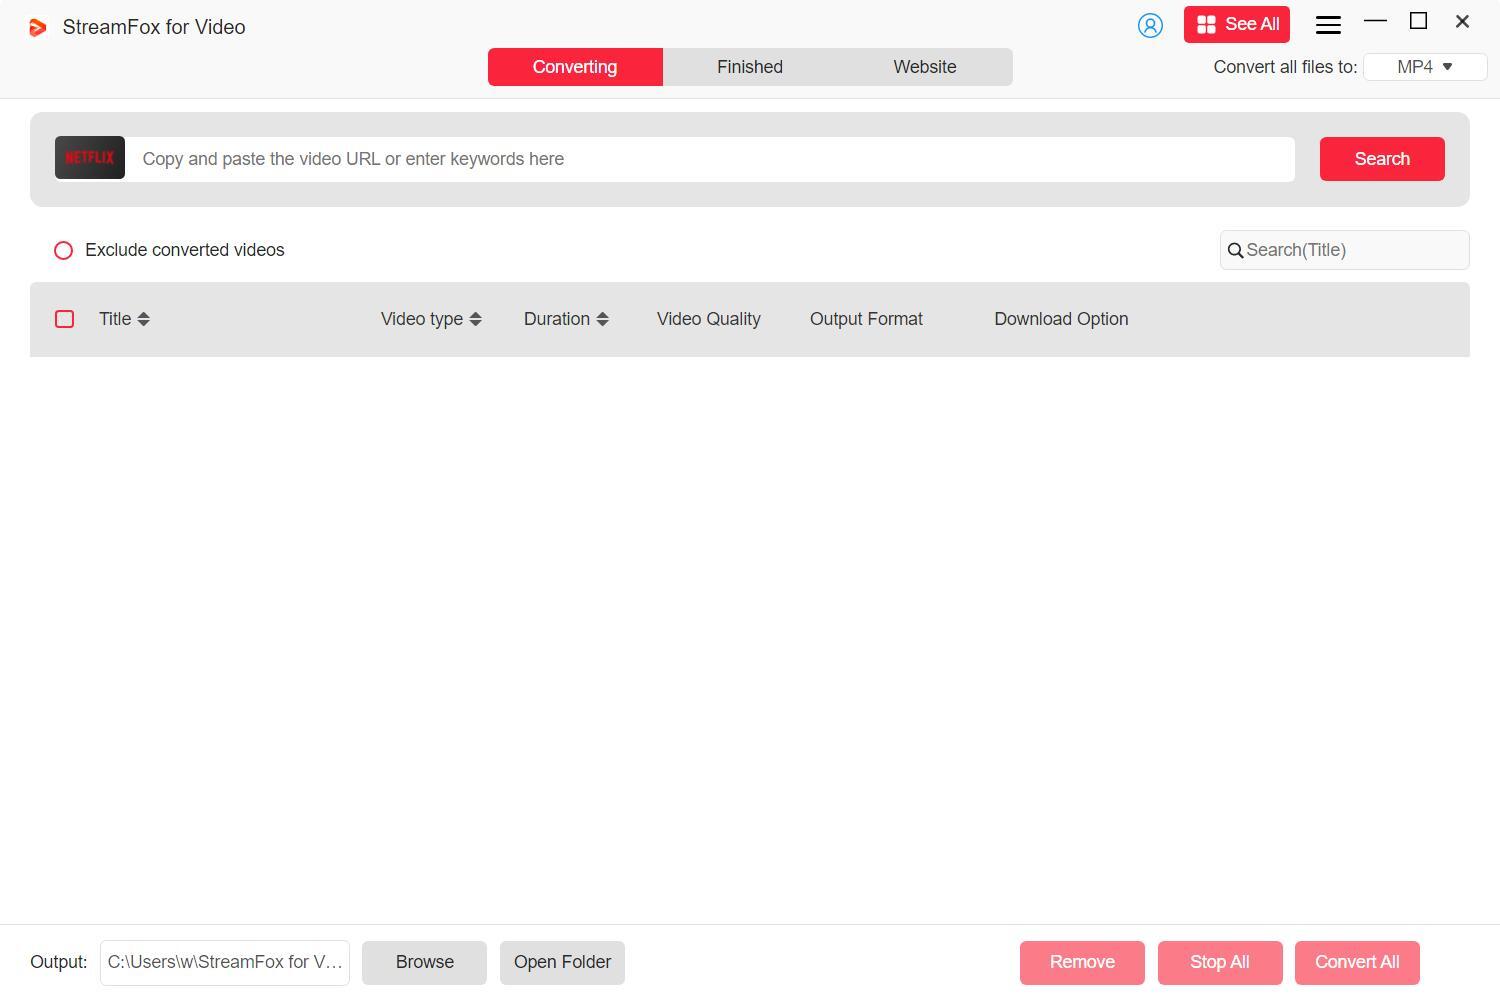
Step 1: Utilize a Netflix subtitle downloading tool such as StreamFox for Video Downloader. Select Netflix platform.

Type the title of the movie or show in the tool’s search bar, or just paste the Netflix video link into the search area. Press “Search” to find your content.
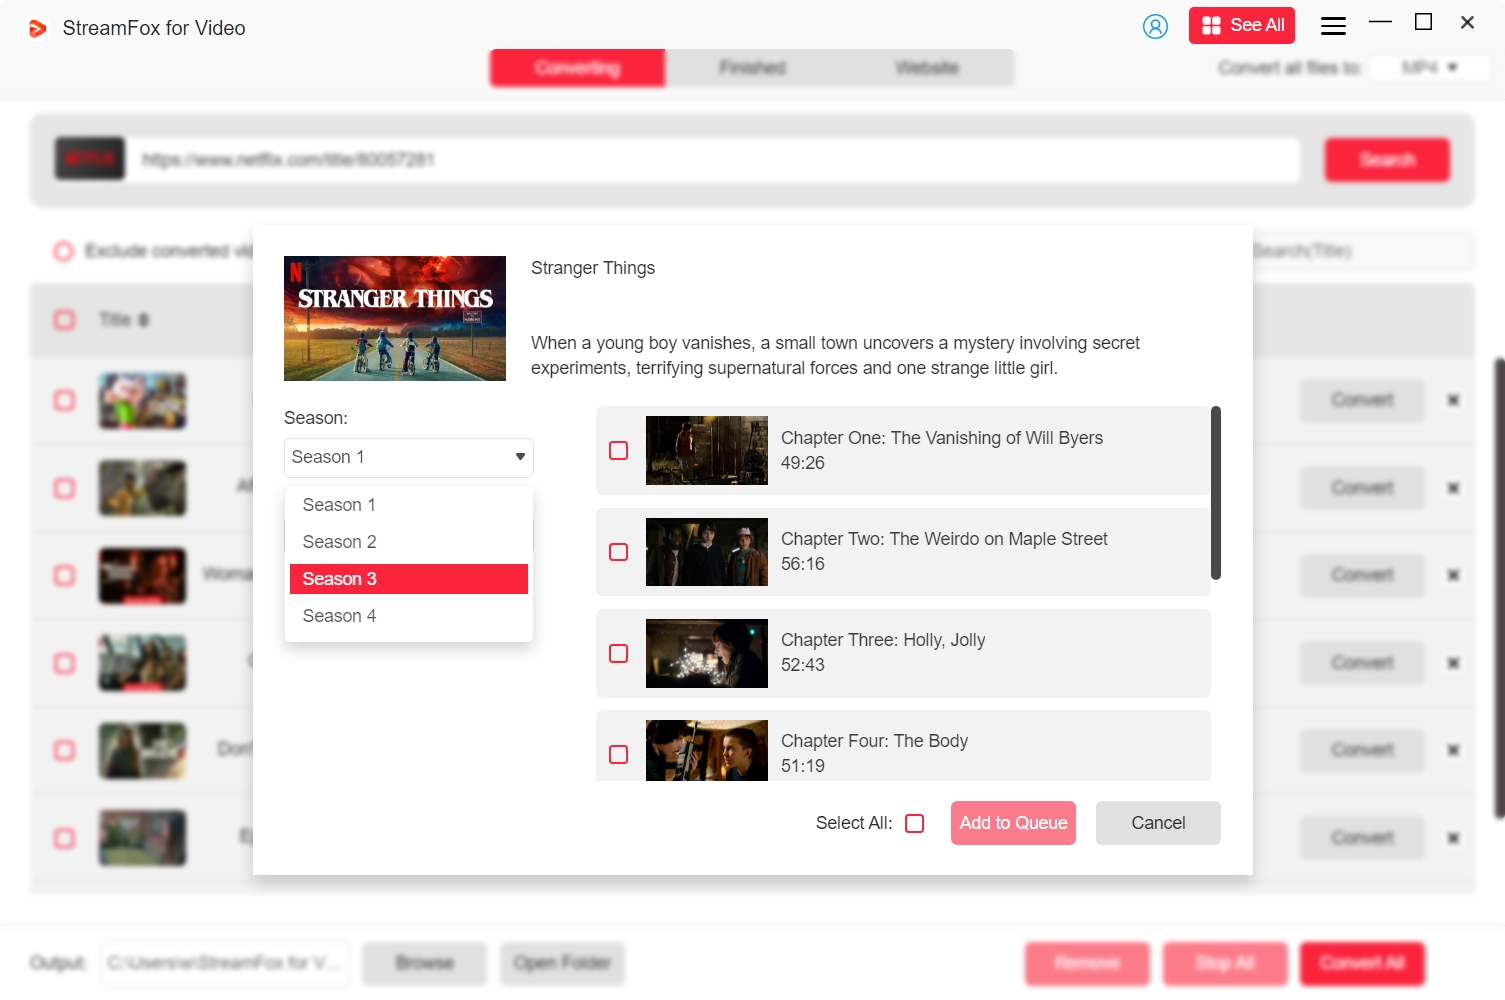
Step 2: When the preferred video shows up, choose it and hit “Add to Queue”. This step adds the video to the tool’s download queue for handling.
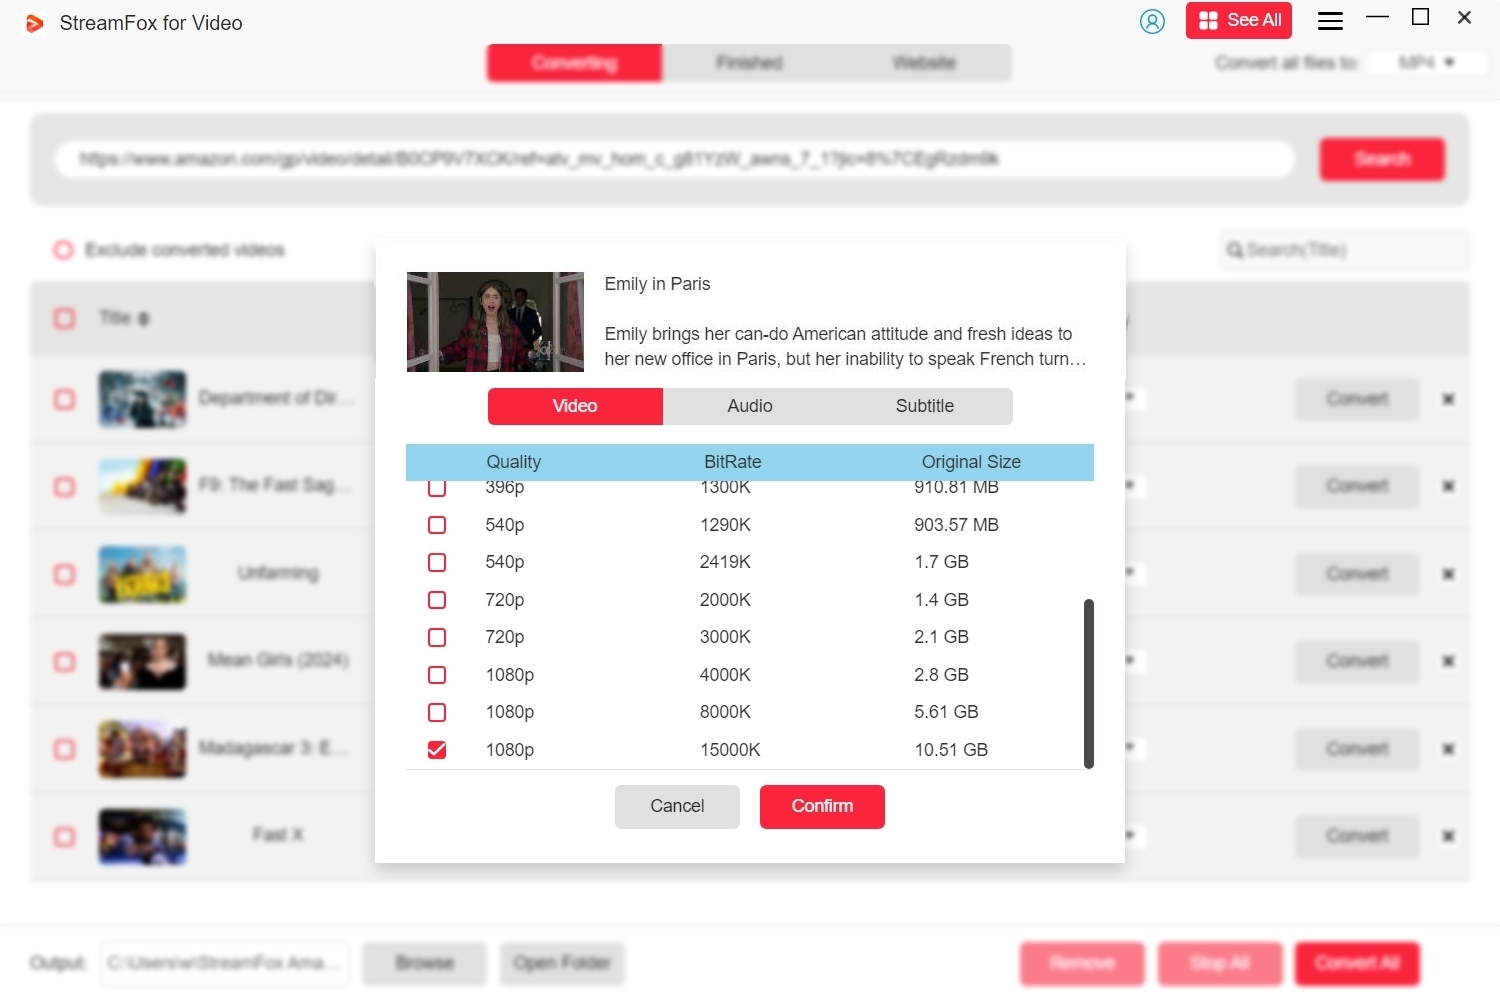
Step 3: Choose the video you want to download from the download queue. Change the video quality options (e.g., 360P to 1080P) for an optimal viewing experience. Furthermore, within the audio settings, select your desired audio quality.
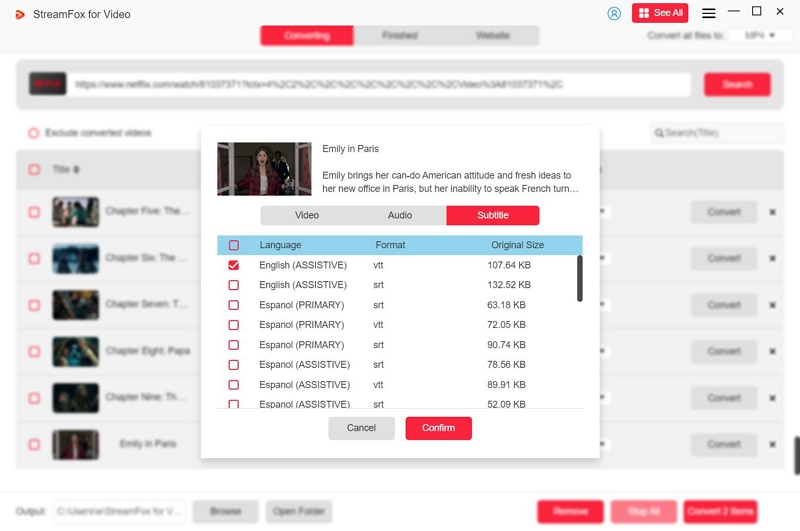
Step 4: Tailor your subtitle settings by choosing the subtitle format. Typical formats consist of:
- VTT (WebVTT): Ideal for online videos and services such as YouTube.
- SRT (SubRip Subtitle): A common format that works with the majority of media players.
Select the language and style for the subtitles and press “Confirm”.
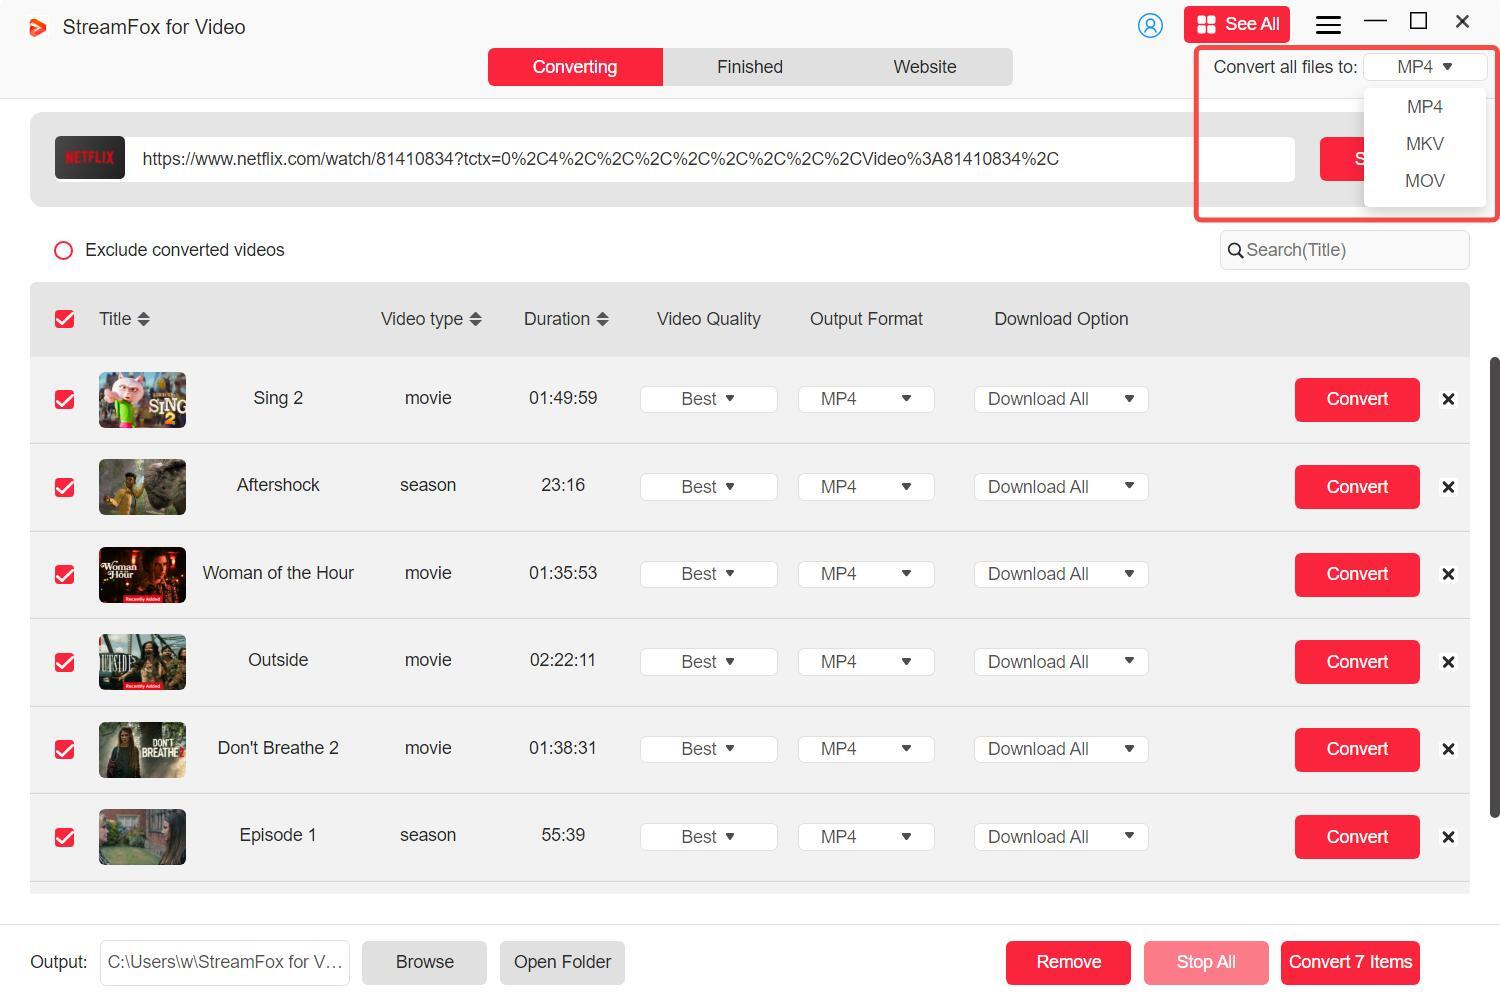
Step 5: By default, videos are saved in MP4 format for widespread compatibility. To change formats, choose from options such as MOV or MKV using the “Convert all files to” dropdown menu in the tool.
Step 6: In the advanced settings of the tool, determine the handling of subtitles:
- Internal Subtitles: Simply switch on or off directly via the video player options.
- External Subtitles: Bring in SRT or SUP files into external players such as VLC for personalized watching.
- Hardcoded Subtitles: These are fixed within the video and cannot be disabled or altered.

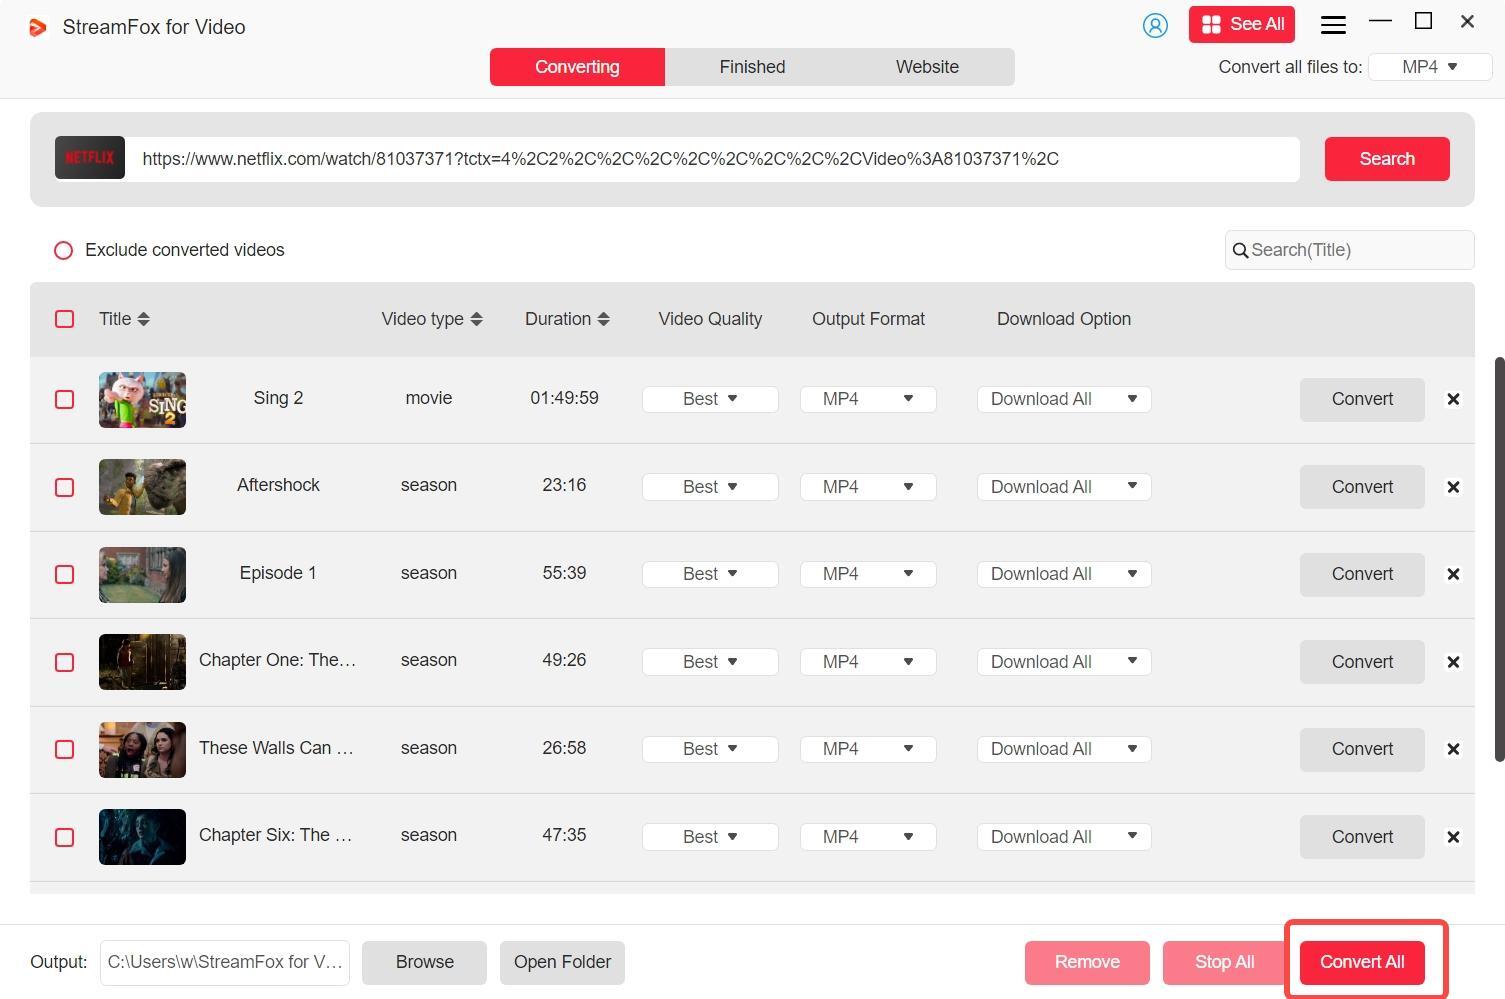
Step 7: After finalizing all settings, tick the checkboxes for the videos you want to download and press “Convert All” to start the downloading process.
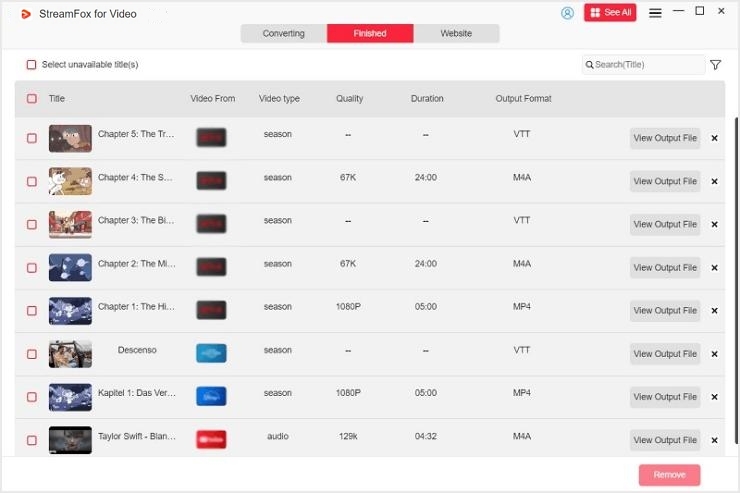
Step 8: Once the download is complete, go to the “Finished” area of the tool. Click “View Output File” to find the saved videos and subtitle files on your computer.
Operation difficulty: Easy
Feasibility: 100%
Expert reminder
Make sure you use StreamFox for Video for the duration of your subscription so that you can download Amazon Prime videos that need to be saved forever. After downloading, even if your subscription expires, downloaded subtitle files, audio files, and video files will not be removed and can be viewed at any time.
Part 3: Using Subtitles, Captions, and Audio Language Settings on Netflix
Netflix provides integrated subtitle, caption, and audio language options to improve your viewing experience. This addresses various accessibility requirements and linguistic choices. You can effortlessly activate subtitles for translation, captions for viewers with hearing impairments or different audio tracks for various languages on multiple devices.
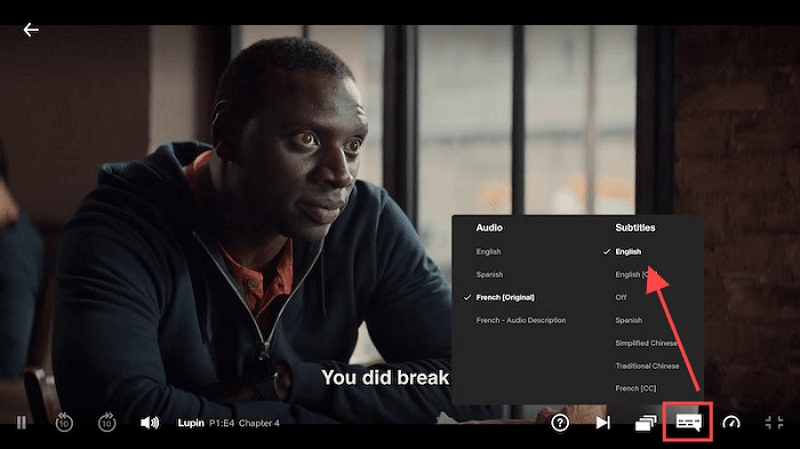
Step 1: Select and begin watching your preferred film or series.
Step 2: During playback on most devices, click the speech bubble icon or choose the “Audio & Subtitles” option.
Step 3: Explore the available subtitle or caption choices, and choose your desired language.
Step 4: Go to the audio settings and select an alternative language or audio track, if offered.
Step 5: After making your selection, the changes will take effect right away, allowing you to keep viewing according to your preferences.
Operation difficulty: simple
Feasibility: 100%
Part 4: How to Change the Appearance of Subtitles and Closed Captions
Changing the appearance of subtitles and closed captions can enhance your viewing experience, particularly if you favor larger text or certain colors for improved clarity. Here’s how to adjust subtitle and closed caption settings on Netflix –
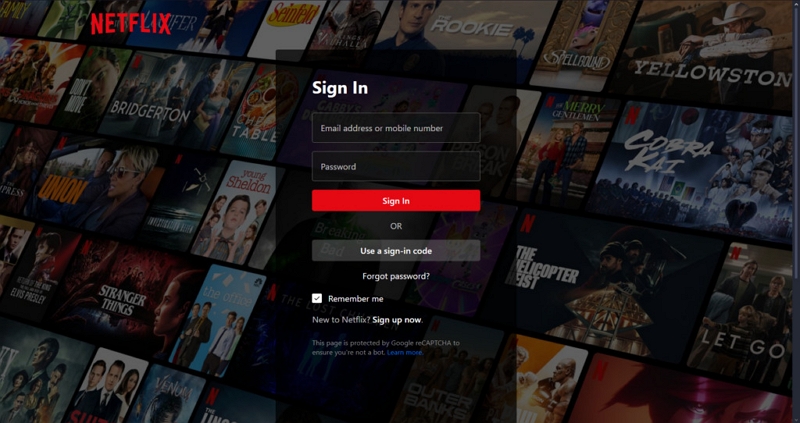
Step 1: Launch Netflix in a web browser and sign into your account. Go to your profile by clicking on your icon in the upper right corner and selecting “Account”.
Step 2: Scroll down to the “Profiles and Parental Controls” area and choose the profile you wish to adjust.
Step 3: Select “Subtitle Appearance” to view customization settings. In this section, you can modify the font type, dimension, and hue. You can modify the background color and opacity to enhance text readability in various scenes.
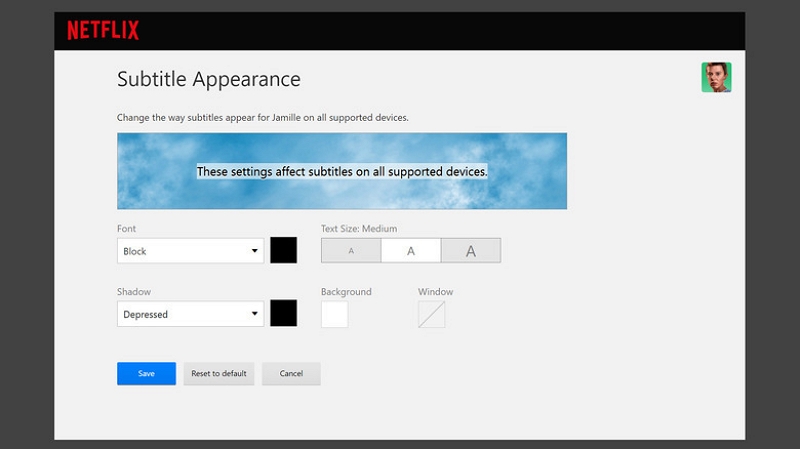
Step 4: Once you have made your modifications, click “Save” to implement the updates.
Note: Launch the Netflix application on the device you utilize for streaming. The revised subtitle display must be enabled. If you have a smart TV or a streaming device, you might need to navigate to the Netflix “Settings”, click on “Get Help”, and select “Reload” for the changes to take effect.
Bonus: Using Third-Party Players for Advanced Subtitle Customization
Third-party applications such as VLC and KMPlayer provide sophisticated tools for handling subtitles, which can greatly improve your viewing experience. These players offer options for customizing subtitle visuals, synchronization, and language preferences. This makes them a perfect option for users who desire greater control over their media viewing experience.
Add external subtitle files and synchronize them with the video –
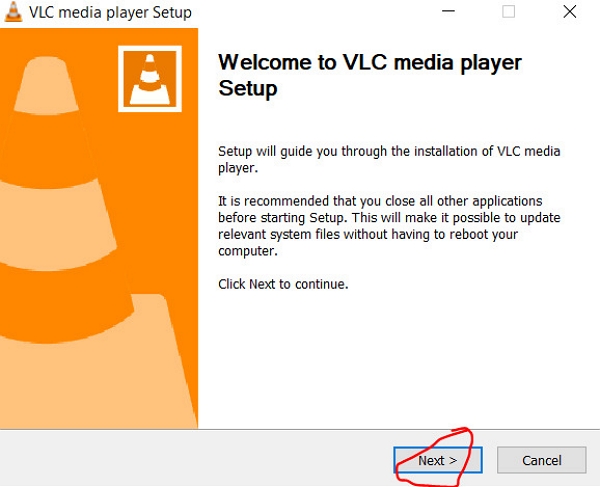
Step 1: Begin by verifying that VLC is installed on your computer. You can obtain it from the official VLC site.
Step 2: Start VLC and load the video file you wish to view by choosing Media > Open File or by dragging and dropping the file into the VLC interface.
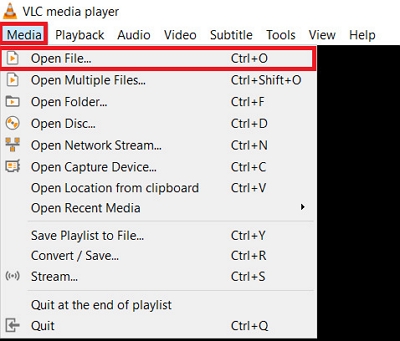
Step 3: To include an external subtitle, go to Media > Open Multiple Files, or right-click on the video display and choose Subtitle > Add Subtitle File. Look for the subtitle file (typically in .srt format) and choose it.
Step 4: If you notice that the subtitles are misaligned, navigate to Tools > Track Synchronization in the menu.

Step 5: In the synchronization section, you can modify the timing of the subtitles. To postpone subtitles, input a positive number. To accelerate subtitles, enter a negative value. This will adjust the subtitles earlier or later to align with the video's timing.
Operation difficulty: Medium
Feasibility: 70%
Advanced tips: editing SRT files for timing or language adjustments
Occasionally, the subtitles might require some changes, or you may wish to alter the language. Here’s a method to adjust the SRT subtitle files for improved accuracy –
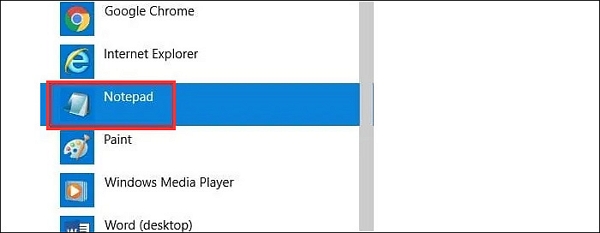
Step 1: Open the .srt subtitle file using a basic text editor such as Notepad (Windows) or TextEdit (Mac).
Step 2: Every subtitle line will include a timestamp showing when it comes on and off. You have the option to adjust these timestamps manually to align them more effectively with the video. Please ensure to preserve the format (HH:MM:SS, MS).
Step 3: If the subtitle file is in another language and requires translation, you can directly substitute the text in the SRT file with the translated version.
Step 4: Once you have made your changes, save the document, then reopen it in VLC to verify the modified subtitles.
Operation difficulty: Difficult
Feasibility: 80%
Conclusion
Downloading and personalizing Netflix subtitles improves the watching experience, whether for learning languages, accessibility, or personal tastes. Both StreamFox Netflix Video Downloader and StreamFox for Video offer a great solution with their adaptable subtitle features and top-notch video downloads. Choose what suits you better.