Updated on 2023-01-13
22 views
5min read
Are you looking for a shortcut to screen record on your Mac? We've got what you're looking for. In this blog post, we'll show you how to screen record on your Mac with or without a shortcut. Plus, we'll give you some tips on how to make the most of your screen recording experience. You can record by shortcuts as well as with tools. Some tools like Eassiy, and QuickTime, are available on Mac. These are third-party apps that provide a variety of features that allow you to do more than just record what's happening on your screen. So let’s get started!
Part 1: How to Record Screen With Shortcut on Mac - Command + Shift + 5
Command + Shift + 5 is the shortcut key to screen record on a mac that lets you screen capture, capture your entire screen, and then save it as a video file. This command is used by mac users who want to make their own videos of what they are doing on their computer without the need for any external recording devices. See how to use Command + Shift + 5 shortcut key outlined in the steps below;
Step 1: Simultaneously press Command + Shift + 5 on your Keyboard. Then from the pop-up that appears on your screen, select the mode in which you want to record your PC screen.
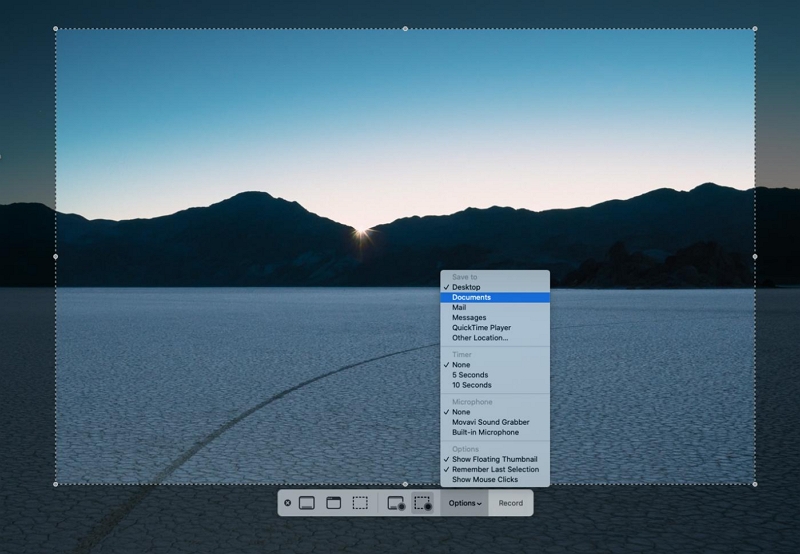
Step 2: Once you select the preferred screen recording mode, click the ‘Record’ button to begin the screen recording process.
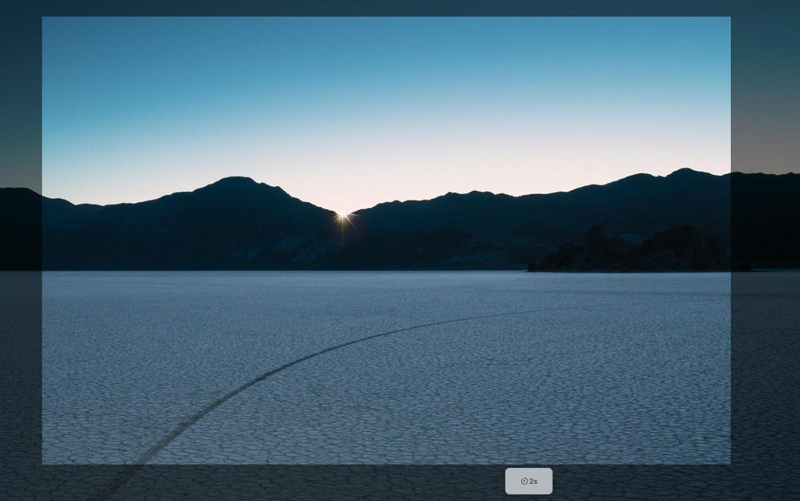
Step 3: To end the screen recording, click the ‘Stop’ button at the top right corner of the PC screen. Alternatively, you can press “Command + Shift + 5 to prompt the screenshot pop-up then click on ‘Stop’ from there.
The recorded video will be saved as QuickTime Movie (MOV) to a location to set as default on your Mac.
Part 2: How to Screen Record on Mac Without Shortcut?
There are different effective methods that you can utilize to screen record Mac without shortcuts, and in this phase, we will introduce you to just those methods and how to use them.
Method 1: Screen Record Mac with The Best Tool
Eassiy Screen Recorder Ultimate is professional and innovative software that enables users to perform both basic and advanced Mac screen recording operations efficiently without lagging. The software boasts all the necessary tools such as scheduled recording, auto-stop, customization keys, and lots more quickly and effectively manage Mac screen recording and Android and iPhone screen recording without any problem.
With Eassiy Screen Recorder Ultimate at your fingertips, both tech-savvy and non-tech-savvy can screen records on mac using state-of-art technology, and unlike many other screen recorders online, the tool supports a special game recorder that can be used to record gameplay and processor-heavy screens with high-quality up to 60fps. Plus, you can perform simultaneous screen recording with or without webcam and audio. All it takes is just a few clicks. Some of the key features of this amazing tool are mentioned below;
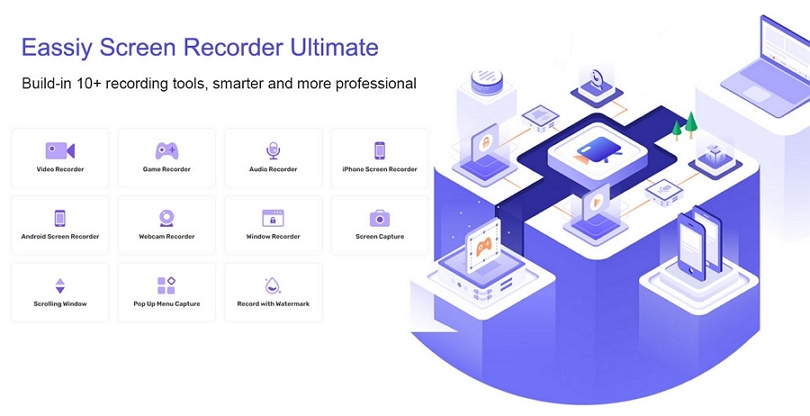
Key features
- Record Mac computer screen with high-definition quality without lagging.
- Robust game recorder to record gameplay with high-definition quality without lagging.
- Support audio recording for adjusting the audio aspect of the recorded video and reducing background noise.
- Support real-time annotation that enables folks to record PC screens and highlight important elements in the recorded videos simultaneously.
- Advanced auto-recorder and auto-stop that facilitates automatic screen recording without necessarily requiring users to sit right in front of their PC.
- Lock and record the window you want without any distraction.
- Create schedule tasks to record live streaming video automatically
How to Screen Record Mac with Eassiy
Step 1: First, download and install the latest version of the Eassiy Screen Recorder on your Mac computer. Then follow the on-screen instruction to set it up.
Step 2: Next, select the Video Recorder icon from the main menu.

Step 3: Now, choose the mode of the screen you want to record. You can either choose “Full” to record Mac full-screen or “Custom” to record a specific part of the computer screen.
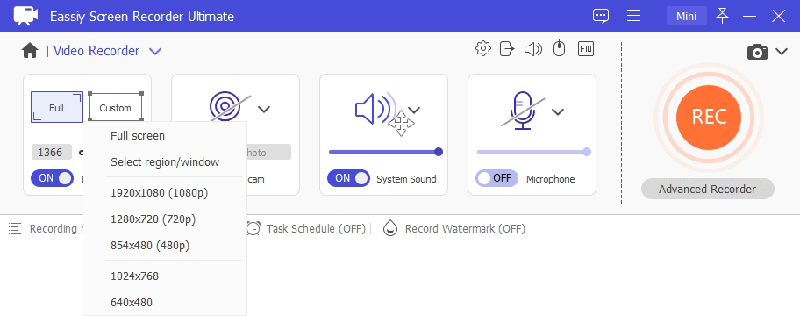
If you want to record the screen with audio, you can turn on “System Sound” and “Microphone” and use the relevant button to adjust the audio. Also, the “Webcam” can come in handy to record PC screens with a webcam. All you just need to do to utilize the feature is to turn on the toggle next to it.

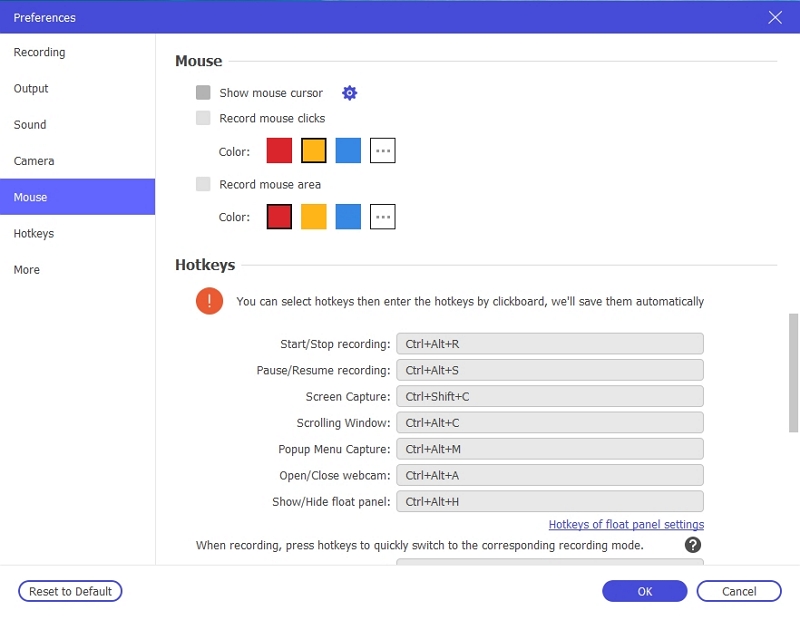
To perform more customization, click on the “Settings” icon at the top of the page and select “Preference”, then make the required adjustments and use the “Ok” button to authorize the settings.
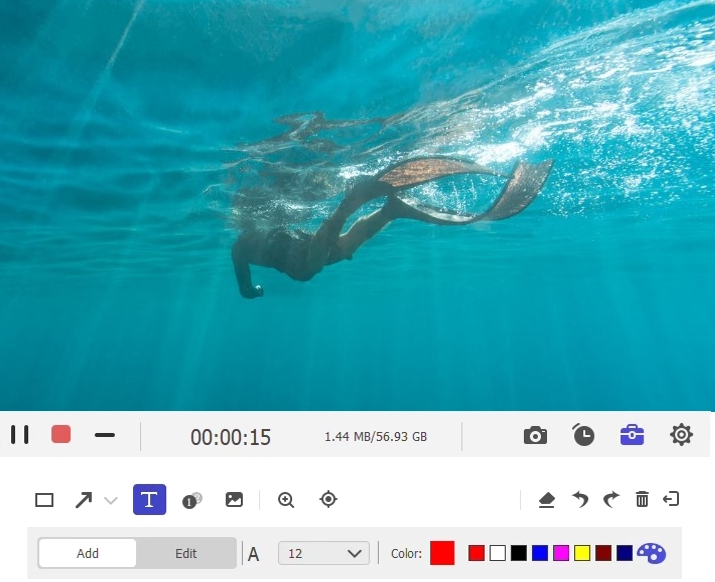
Step 4: Hit the orange “Rec” button to start recording your Mac screen as per requirement. During the screen recording, the real-time annotation feature can come in handy for you to highlight key points in the video. You can also take screenshots using the “Camera” icon at the bottom left corner.
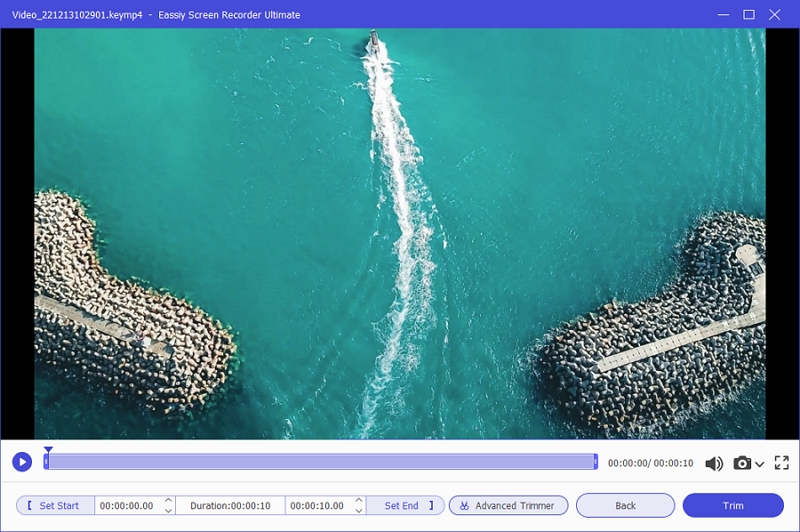
Step 5: To end the recording operation, click the “Stop” button, then in the preview mode, you can perform more editing on the video and use the “Save” button to save the recorded video to your PC.
Method 2: Screen Record Mac Using QuickTime
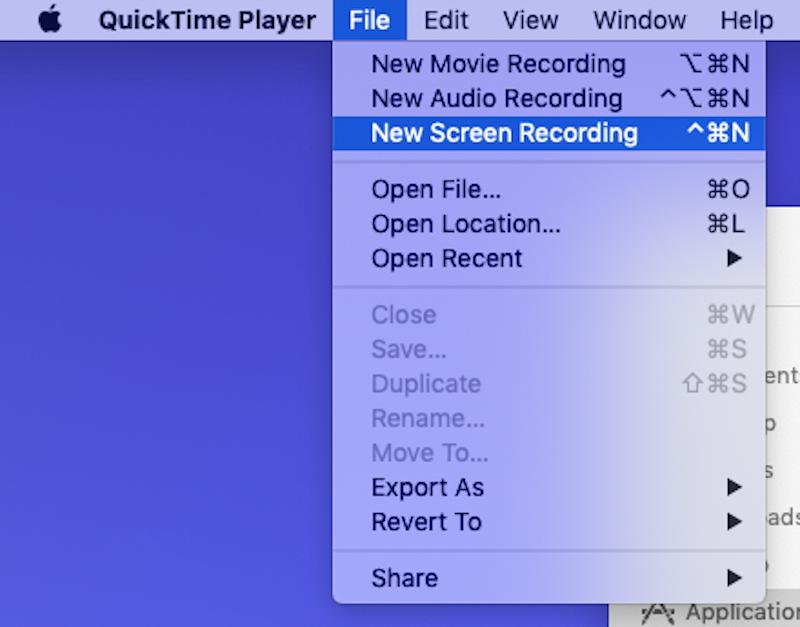
By using tools like QuickTime Player, you can screen record on Mac without having to use any shortcuts. Simply open QuickTime Player and go to File > New Screen Recording. A recording window will pop up and you can hit the record button to start recording your screen.
Key features
- QuickTime is a powerful built-in screen recording tool on Mac. You can use it to record your screen with or without sound, and even record video from your webcam or iPhone's screen.
- It also has the ability to capture anything that appears on your Mac's display, such as windows and menus.
- In addition, you can pause and resume the recording process if needed.
- The great thing about this software is that there are no limits to the length of time you want to record!
QuickTime is a great built-in tool for recording your screen on a Mac. Here's how to use it:
Step 1: Open QuickTime Player > Go to File > New Screen Recording in the menu bar.
Step 2: A screen recording window will pop up. Click the white arrow to choose which microphone you want to use for your recording, then click the red button to start recording.
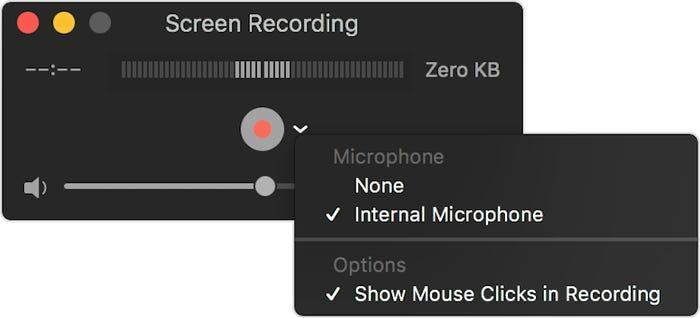
Step 3: You can pause and stop your recording by clicking the corresponding buttons at the bottom of the QuickTime player window. Once you're done, just hit Command+S or Control+S (depending on what Mac OS X version you're using) to save your video.
Part 3: FAQs
1. Where Do Screen Records Go on Mac?
If you've ever wondered where your screen records go on Mac, the answer is actually pretty simple. By default, all screen recordings are saved to your Movies folder in Finder. You can access this folder by opening Finder and selecting Movies from the sidebar. If you want to change where your screen recordings on a mac are saved, you can do so by opening the QuickTime Player app and going to Preferences > Recording. From here, you can select a different folder for your screen recordings to be saved to.
2. What’s the best way to screen record on Mac?
There are a few different ways to screen record on Mac, and the best method for you will depend on your needs. If you just want to quickly record your screen without any fuss, you can use the built-in QuickTime Player app. For more advanced features, like recording with the audio or adding annotations, you can use a third-party app like Eassiy. And if you need to record your screen regularly, you can create a keyboard shortcut to launch the screen recorder with just a few clicks.
Conclusion
In conclusion, the screen recording mac shortcut is a great feature that Apple has made available to all users on their MacBooks. It allows you to make videos of what is happening on your screen and is easy to use once you know how. Eassiy and QuickTime are both powerful tools for recording video. However, tech experts recommend Eassiy Screen Recorder Ultimate as it is more powerful for advanced screen recording, and it supports more helpful features compared to any other tools mentioned on this page. Don’t hesitate to explore the Eassiy Screen Recorder Ultimate for any kind of screen recording and screenshot tasks on your Mac computer.


